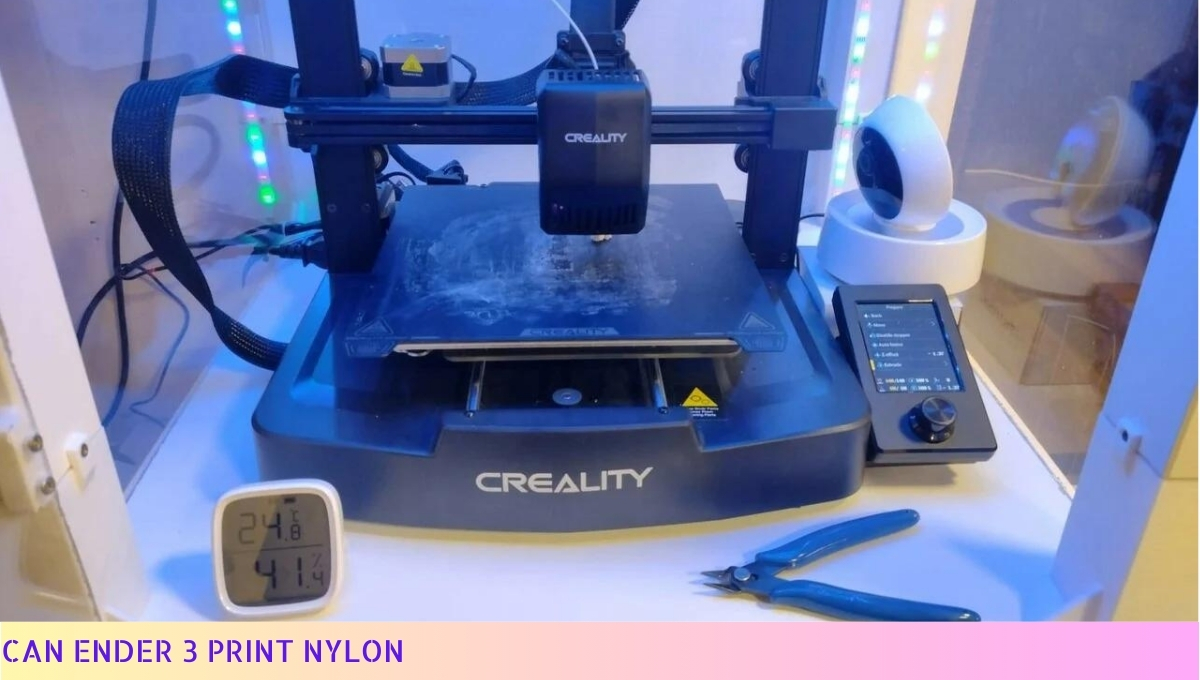
Yes, the Ender 3 can print with nylon filament.
Nylon is a versatile material that offers high strength and durability, making it suitable for various applications such as functional prototypes and mechanical parts.
However, it is important to note that printing with nylon requires specific settings and precautions, such as using a heated bed and an enclosed print chamber to prevent warping and ensure successful prints.
Benefits of Printing Nylon with Ender 3
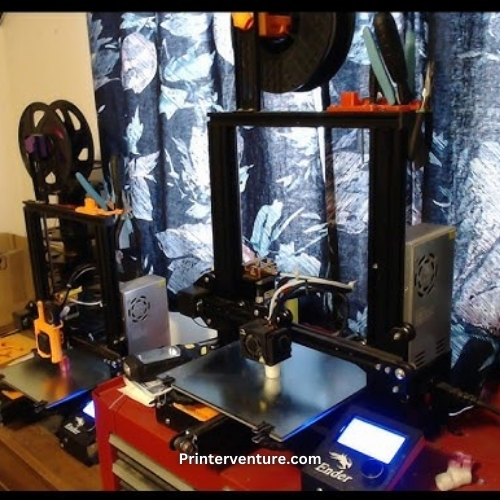
Printing nylon with Ender 3 can bring a whole bunch of benefits to the table. Let me tell you why you should give it a whirl!
1. Durability: Nylon is known for its toughness, making it a great choice for parts that need to withstand some serious wear and tear. Whether you’re printing functional prototypes or end-use products, nylon’s got your back.
2. Chemical Resistance: Nylon is like a superhero when it comes to standing up against chemicals. It can handle a wide range of solvents, oils, and other substances without breaking a sweat. So, if you need parts that can brave harsh environments, nylon is your go-to material.
3. Flexibility: Unlike some rigid materials, nylon has a bit of a bendy nature. It offers a good balance between strength and flexibility, making it ideal for parts that need to absorb shocks or vibrations.
4. Low Friction: Nylon has a naturally low coefficient of friction, meaning it’s great for parts that need to slide or move smoothly. So, if you’re looking to print gears, bushings, or any other components that require minimal friction, nylon is your buddy.
5. Heat Resistance: When things get hot, nylon keeps its cool. It can handle higher temperatures compared to some other 3D printing materials. So, if you need parts that can take the heat, nylon is the way to go.
6. Cost-Effective: Nylon is relatively affordable compared to some high-performance materials. You can get the benefits of a durable, chemical-resistant material without breaking the bank.
Now that you know the perks, let’s dive into some tips for printing nylon on Ender 3. Stay tuned, my friend!
Tips for Printing Nylon on Ender 3
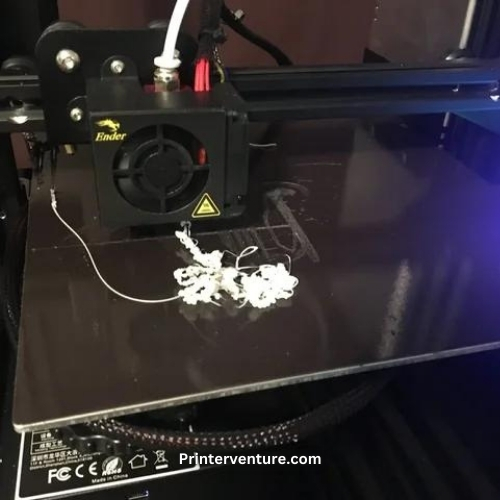
- Prepare your printer: Before printing with nylon on your Ender 3, make sure your printer is properly calibrated and leveled. This will ensure that your prints come out clean and accurate.
- Use a heated bed: Nylon has a tendency to warp, so using a heated bed is crucial. Set the bed temperature between 60-80°C to prevent warping and promote better adhesion.
- Apply adhesive: To further improve bed adhesion, consider applying adhesive substances like hairspray or glue stick. This will help the nylon stick to the bed and prevent any unwanted shifting during the printing process.
- Enclose your printer: Nylon is sensitive to temperature changes, so enclosing your Ender 3 with a 3D printer enclosure or even a makeshift enclosure using cardboard can help maintain a stable printing environment. This will minimize the chances of warping and enhance print quality.
- Print at a slower speed: Nylon requires a slower print speed compared to other filaments. By reducing the print speed, you allow the material to properly melt and adhere to the previous layers, resulting in stronger and more reliable prints.
- Experiment with layer heights: Nylon works well with layer heights ranging from 0.2mm to 0.3mm. However, feel free to experiment with different layer heights to find the sweet spot that suits your specific needs.
- Consider using a dry box: Nylon is hygroscopic, meaning it absorbs moisture from the air. To prevent moisture-related issues, such as poor print quality and filament degradation, store your nylon filament in a dry box or use a filament dryer to keep it dry before printing.
- Ensure proper ventilation: While it’s important to enclose your printer, it’s equally crucial to have proper ventilation in place. Nylon emits fumes during the printing process, so make sure you have adequate ventilation to avoid inhaling potentially harmful gases.
- Post-processing: After printing, nylon parts may require some post-processing. Sanding, smoothing, or even annealing can enhance the overall strength and appearance of your prints.
By following these tips, you can achieve successful nylon prints on your Ender 3. Remember, practice makes perfect, so don’t be afraid to experiment and fine-tune your settings to get the best results.
Recommended Settings for Printing Nylon on Ender 3
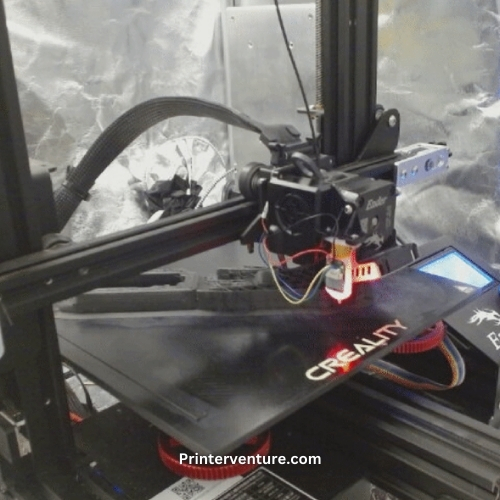
1. Hotend Temperature:
One of the critical factors in successfully printing nylon on your Ender 3 is getting the hotend temperature just right. I recommend setting the temperature between 240°C and 260°C.
This range ensures that the nylon filament melts sufficiently without causing clogs or other issues. Remember, finding the sweet spot may require some experimentation, so be patient and adjust accordingly.
2. Bed Temperature:
Another important setting to consider is the bed temperature. To promote good adhesion and prevent warping, I suggest setting the bed temperature between 60°C and 80°C.
This range allows the nylon to stick to the build plate effectively and minimizes the chances of your print detaching mid-print.
3. Print Speed:
When it comes to print speed, it’s best to take a more conservative approach with nylon. Slower print speeds between 20mm/s and 40mm/s generally yield better results.
This slower pace allows the filament to properly extrude and adhere to the previous layers, reducing the risk of stringing or layer separation.
4. Cooling Fan:
Unlike other filaments, nylon benefits from minimal cooling during the printing process. I recommend keeping the cooling fan at 0% to 20% to avoid rapid cooling, which could lead to poor layer adhesion and warping.
However, some users have reported success with slightly higher cooling fan speeds, so feel free to experiment and find the optimal setting for your specific nylon filament.
5. Print Enclosure:
Creating a controlled environment for your nylon prints can significantly improve the overall quality. If possible, consider using a print enclosure or enclosing your printer with a large cardboard box.
This helps maintain a consistent temperature throughout the print, reducing the chances of warping and enhancing layer adhesion.
6. Retraction Settings:
Proper retraction settings are crucial for minimizing stringing and oozing during nylon prints. I suggest starting with a retraction distance of 2mm to 4mm and a retraction speed of 30mm/s to 50mm/s.
These settings help prevent excess filament from oozing out between retractions, resulting in cleaner and more precise prints.
7. Print Surface Preparation:
Preparing the print surface is essential for ensuring good adhesion and successful prints. For nylon, I recommend using a PEI sheet or applying a thin layer of 3D printing adhesive to the build plate.
These surfaces provide excellent adhesion for nylon filament and can help prevent warping or detachment during the print.
8. Filament Drying:
Nylon filament is known to absorb moisture from the air, which can negatively impact print quality. To avoid this, it’s crucial to keep your nylon filament dry before printing.
Consider storing it in a sealed container with desiccant packs or using a dedicated filament dryer to remove any moisture before loading it into your Ender 3.
- Set the hotend temperature between 240°C and 260°C.
- Keep the bed temperature between 60°C and 80°C.
- Print at slower speeds between 20mm/s and 40mm/s.
- Adjust the cooling fan to 0% to 20%.
- Consider using a print enclosure for better temperature control.
- Retract the filament by 2mm to 4mm at 30mm/s to 50mm/s.
- Use a PEI sheet or 3D printing adhesive for the print surface.
- Ensure the nylon filament is dry before printing.
| Setting | Range |
|---|---|
| Hotend Temperature | 240°C – 260°C |
| Bed Temperature | 60°C – 80°C |
| Print Speed | 20mm/s – 40mm/s |
| Cooling Fan | 0% – 20% |
| Retraction Distance | 2mm – 4mm |
| Retraction Speed | 30mm/s – 50mm/s |
Troubleshooting Common Issues when Printing Nylon with Ender 3
So, you’ve decided to take on the challenge of printing nylon with your trusty Ender 3. Kudos to you! But wait, what’s this?
You’re facing some hiccups along the way? Don’t you worry, my friend. I’ve got your back. Let’s troubleshoot these common issues and get you back on track!
1. Warped Prints: Ah, the bane of every 3D printing enthusiast’s existence. If your nylon prints are coming out warped and wonky, it’s time to check your bed leveling.
Make sure your bed is perfectly leveled, ensuring proper adhesion and preventing warping. Also, consider using a heated bed and a suitable adhesive like glue stick or hairspray to help keep your prints in place.
2. Stringing and Oozing: Nylon can be a bit of a stringy troublemaker. To combat those unwanted strings and oozing, try adjusting your retraction settings.
Increase the retraction distance and speed to minimize the chances of molten nylon sneaking out during travel moves. Oh, and don’t forget to keep an eye on your print temperature too. Lowering it a bit might help reduce stringing.
3. Delamination: If your nylon prints are suffering from delamination, where the layers aren’t sticking together properly, it’s time to give your print settings a once-over. Consider increasing the printing temperature and adjusting the print speed to ensure better layer adhesion.
You can also experiment with adding an enclosure or using a draft shield to maintain a consistent temperature during the print.
4. Adhesion Issues: Are your nylon prints having a hard time sticking to the bed? Fear not! First, make sure your bed is clean and free from any debris or leftover adhesive.
Next, try increasing the bed temperature to promote better adhesion. If all else fails, you can resort to using a specialized nylon adhesive like a nylon-specific glue stick or a nylon-based adhesive spray.
5. Print Quality: If your nylon prints aren’t looking as crisp and clean as you’d like them to be, it’s time to fine-tune your print settings.
Experiment with different layer heights, print speeds, and infill densities to find the sweet spot for your desired print quality. Don’t be afraid to take it slow and steady, my friend. Rome wasn’t built in a day, and neither are perfect prints.
Remember, troubleshooting is all about experimenting and finding what works best for your specific setup. Each printer and filament combination can be a little different, so don’t be discouraged if it takes a few tries to get things just right.
With a bit of patience and perseverance, you’ll be printing nylon masterpieces with your Ender 3 in no time!
Now, go forth and conquer those troubleshooting challenges like the 3D printing hero you are! Good luck!
Can Ender 3 Print Nylon – FAQs
1. What is Ender 3?
Ender 3 is a popular 3D printer model developed by Creality.
2. Can Ender 3 print with nylon filament?
Yes, Ender 3 can print with nylon filament.
3. What is nylon filament?
Nylon filament is a type of thermoplastic material commonly used in 3D printing. It is known for its strength, durability, and flexibility.
4. Is Ender 3 compatible with nylon filament?
Yes, Ender 3 is compatible with nylon filament. However, some modifications or upgrades may be required for optimal results.
5. What modifications are needed to print nylon on Ender 3?
To print nylon on Ender 3, it is recommended to upgrade the hotend to a higher temperature-capable one, install an all-metal hotend, and ensure proper bed adhesion.
6. What temperature should be used for printing nylon on Ender 3?
The recommended temperature for printing nylon on Ender 3 is around 240-260°C for the hotend and 70-80°C for the heated bed.
7. Can Ender 3 handle the high temperatures required for nylon printing?
With the necessary upgrades, Ender 3 can handle the high temperatures required for nylon printing.
8. What are the advantages of printing with nylon filament?
Printing with nylon filament offers advantages such as high strength, excellent layer adhesion, chemical resistance, and low friction properties.
9. Are there any disadvantages to printing with nylon filament?
Some disadvantages of printing with nylon filament include its tendency to warp, higher printing temperature requirements, and the need for a heated bed.
10. Can Ender 3 achieve good print quality with nylon filament?
With the necessary modifications and proper settings, Ender 3 can achieve good print quality with nylon filament.
Wrapping Up
To sum it up, the Ender 3 is indeed capable of printing with nylon filament. With its sturdy frame and reliable extruder, this 3D printer can handle the higher temperatures required for nylon printing.
However, it’s important to note that some modifications may be necessary to optimize the printing process, such as adding an enclosure to maintain a stable temperature.
With the right settings and adjustments, you can achieve excellent results with nylon on the Ender 3. So go ahead and explore the possibilities of this versatile printer!

