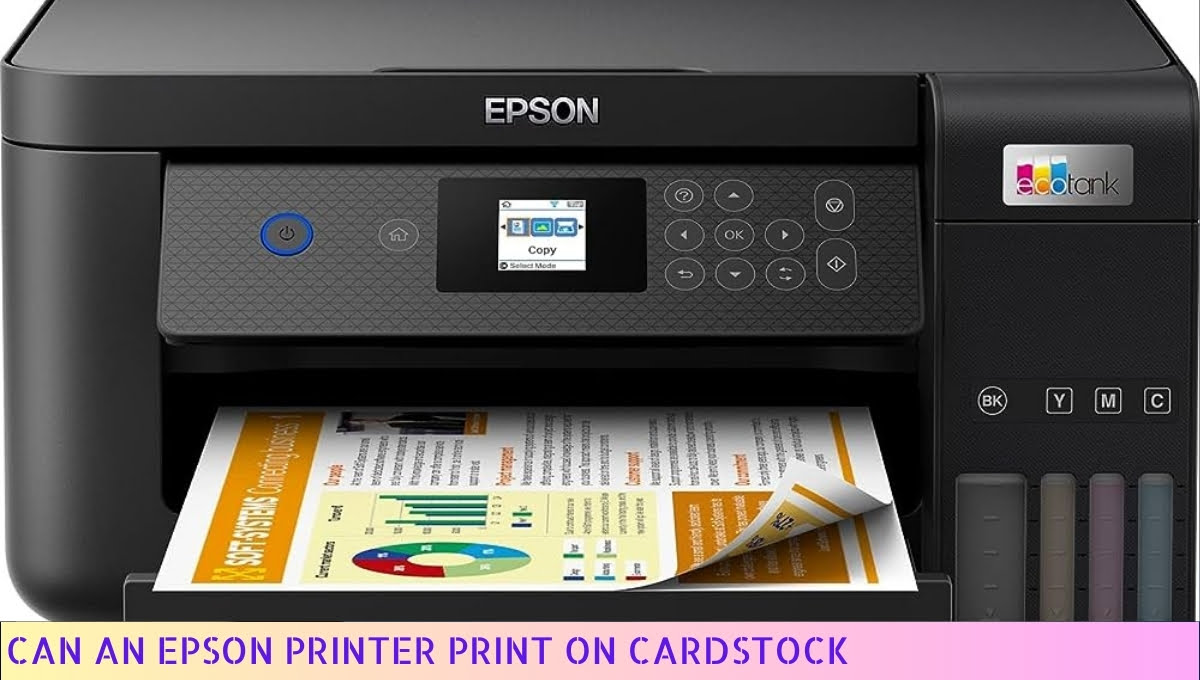
Yes, you can print onto Shrinky Dink paper.
Shrinky Dink paper is a type of plastic sheet that shrinks and hardens when heated, allowing you to create various crafts and designs. To print on it, you can use a regular inkjet or laser printer.
Simply cut the paper to the desired size, print your design onto the rough side, and follow the instructions for baking and shrinking. This allows you to create customized jewelry, keychains, and other small decorative items.
I. Benefits of Printing onto Shrinky Dink Paper

Printing onto Shrinky Dink paper opens up a world of creative possibilities.
Let me tell you why it’s such a fantastic option:
- Endless Creativity: With Shrinky Dink paper, you can print and design your own custom artwork, patterns, or images. It’s perfect for unleashing your creativity and adding a personal touch to your crafts.
- Versatility: Whether you’re making jewelry, keychains, or decorative pieces, printing on Shrinky Dink paper allows you to create unique and eye-catching designs. The possibilities are only limited by your imagination.
- Durable and Long-lasting: Shrinky Dink paper is made to withstand wear and tear. Once printed and shrunk, your designs will retain their vibrant colors and crisp details, ensuring your creations stand the test of time.
- Easy to Use: Printing on Shrinky Dink paper is a breeze, even for beginners. You don’t need any special equipment or skills. Just print, cut, and shrink – it’s that simple!
So, if you’re looking to add a touch of uniqueness and durability to your crafts, printing onto Shrinky Dink paper is the way to go!
II. Steps to Print onto Shrinky Dink Paper

Printing onto Shrinky Dink paper is a fun and creative way to bring your designs to life.
Whether you’re making personalized keychains, jewelry, or decorative embellishments, here are the steps to help you get started:
- Design your artwork: Use a graphic design software or simply draw your design on a piece of paper. Remember that the final printed image will shrink, so make sure to keep that in mind when creating your artwork.
- Prepare your printer: Make sure your printer is compatible with Shrinky Dink paper and that it has enough ink. You don’t want to run out of ink halfway through printing!
- Load the Shrinky Dink paper: Follow the instructions provided with your Shrinky Dink paper to load it into your printer. Usually, you’ll need to place the paper in the printer tray with the printable side facing up.
- Adjust printer settings: Open the print settings on your computer and select the appropriate paper type. Shrinky Dink paper is often considered a specialty paper, so choose the setting that best matches its thickness.
- Print your design: Click the print button and watch as your design comes to life on the Shrinky Dink paper. Take a moment to appreciate your artistic skills!
- Cut out your design: Once the ink has dried, carefully cut out your printed design using scissors or a craft knife. Be precise and take your time to ensure clean edges.
- Bake your design: Preheat your oven according to the instructions provided with your Shrinky Dink paper. Place your cut-out design on a baking sheet lined with parchment paper and bake it according to the recommended temperature and time.
- Watch the magic happen: As your design bakes, it will shrink and thicken, transforming into a durable plastic piece. Keep a close eye on it to prevent over-baking or warping.
- Cool and enjoy: Once your Shrinky Dink creation has finished baking, remove it from the oven and let it cool completely. Now, you can attach it to keychains, jewelry findings, or use it for any other creative project you have in mind!
Printing on Shrinky Dink paper opens up a world of possibilities for expressing your creativity. Follow these steps, and you’ll be amazed at the unique and personalized items you can create!
III. Tips for Successful Printing on Shrinky Dink Paper

Printing on Shrinky Dink paper can be a fun and creative way to bring your designs to life.
Whether you’re making jewelry, keychains, or custom decorations, here are some tips to ensure successful printing on Shrinky Dink paper:
- Choose the right printer settings: Before you hit that print button, make sure your printer settings are optimized for Shrinky Dink paper. Select the highest print quality setting for crisp and vibrant results. Additionally, adjust the paper type to “transparency” or “film” to ensure proper ink adhesion.
- Use the rough side of the paper: Shrinky Dink paper has a rough and a smooth side. To achieve the best print results, always print on the rough side of the paper. The rough texture helps the ink adhere better and prevents smudging.
- Allow the ink to dry: After printing, give the ink some time to dry completely. This step is crucial to prevent smearing and smudging when handling the paper. Patience is key here, so resist the temptation to touch the freshly printed design right away.
- Handle with care: Shrinky Dink paper is delicate, so handle it with care to avoid damaging the printed design. Hold the paper by the edges to prevent fingerprints or scratches. If you’re planning to cut out your design after printing, use sharp scissors or a craft knife for clean and precise cuts.
- Bake according to instructions: Once your design is printed and cut, it’s time to shrink it! Follow the instructions provided with your Shrinky Dink paper for the baking process. Typically, you’ll need to preheat your oven to a specific temperature and place the cutouts on a parchment-lined baking sheet. Keep a close eye on the shrinking process to avoid overcooking.
- Experiment and have fun: Printing on Shrinky Dink paper opens up a world of creative possibilities. Don’t be afraid to experiment with different designs, colors, and sizes. Let your imagination run wild and enjoy the process of seeing your creations transform into miniature works of art.
By following these tips, you’ll be well on your way to successful printing on Shrinky Dink paper. So, gather your supplies, unleash your creativity, and get ready to make some fantastic shrinkable masterpieces!
IV. Additional Creative Ideas for Using Shrinky Dink Paper
If you thought printing on Shrinky Dink paper was just for making keychains or jewelry, think again! There are so many creative ways to use this versatile material.
Let me share some exciting ideas to inspire your next project:
- Customized Magnets: Print your favorite designs or photos onto Shrinky Dink paper, cut them out, and attach them to magnetic sheets. Now you have unique and personalized magnets to decorate your fridge or any metal surface.
- Gift Tags: Create adorable gift tags by printing festive designs or messages onto Shrinky Dink paper. Cut them out in various shapes, punch a hole at the top, and thread a ribbon through. Your gifts will stand out with these charming and handmade tags.
- Ornaments: Add a touch of charm to your Christmas tree or any holiday decorations by printing onto Shrinky Dink paper. Cut out the designs, bake them in the oven according to the instructions, and attach a string or ribbon. Your handmade ornaments will be the highlight of the season.
- Bookmarks: Create personalized bookmarks by printing inspirational quotes, beautiful patterns, or even your favorite characters onto Shrinky Dink paper. Cut them out in long rectangular shapes, punch a hole at the top, and add a tassel or ribbon. Now you have unique bookmarks to mark your spot in style.
- Plant Markers: Give your garden a personalized touch by using Shrinky Dink paper to create plant markers. Print the names of your plants, herbs, or vegetables, cut them out, and bake them. Attach them to popsicle sticks or small stakes and insert them into the soil. Now you’ll never forget what you planted.
With these creative ideas, you can see that the possibilities are endless when it comes to using Shrinky Dink paper. Let your imagination run wild and enjoy the process of bringing your designs to life. Happy crafting!
Can You Print Onto Shrinky Dink Paper – FAQs
1. What is Shrinky Dink paper?
Shrinky Dink paper is a type of plastic sheet that can be printed on and then shrunk down in size using heat, resulting in a durable and colorful plastic piece.
2. Can you print onto Shrinky Dink paper?
Yes, Shrinky Dink paper is specifically designed to be printable. You can use an inkjet or laser printer to print your desired design onto the paper.
3. What type of printer should I use?
Both inkjet and laser printers can be used to print onto Shrinky Dink paper. However, it is recommended to use an inkjet printer for better color vibrancy and compatibility with the plastic surface.
4. Do I need to prepare the Shrinky Dink paper before printing?
No, Shrinky Dink paper is ready to use straight out of the package. Simply load it into your printer and print your design directly onto the paper.
5. Can I use any image or design for printing?
Yes, you can print any image or design onto Shrinky Dink paper, as long as it fits within the dimensions of the paper. You can create your own designs or use pre-existing images.
6. How do I shrink the printed design?
After printing your design onto the Shrinky Dink paper, you will need to cut it out and place it in an oven or use a heat gun to shrink it. Follow the instructions provided by the manufacturer for the best results.
7. Can I use a regular household oven to shrink the design?
Yes, a regular household oven can be used to shrink the design. Make sure to preheat the oven to the recommended temperature and place the cut-out design on a parchment-lined baking sheet.
8. How much will the design shrink?
On average, the design will shrink to about 50-60% of its original size when heated. Keep this in mind when printing your design, as small details may become more intricate after shrinking.
9. Is the printed design permanent?
Yes, the printed design on Shrinky Dink paper is permanent and will not fade or wash away. However, it is recommended to avoid excessive scratching or rubbing to maintain its longevity.
10. What can I use the shrunken plastic pieces for?
The shrunken plastic pieces created from Shrinky Dink paper can be used for various purposes, such as keychains, jewelry, ornaments, or embellishments for crafts and DIY projects.
Wrapping Up
So, there you have it, folks! Printing onto Shrinky Dink paper is not only possible, but it’s also a super fun and creative way to unleash your inner artist.
Whether you’re looking to make custom jewelry, keychains, or even decorations, this versatile paper can make your designs come to life. Just remember to follow the manufacturer’s instructions, use a compatible printer, and take your time to ensure a flawless result.
So, go ahead and get your creative juices flowing with Shrinky Dink paper printing. Happy crafting, my friends!

