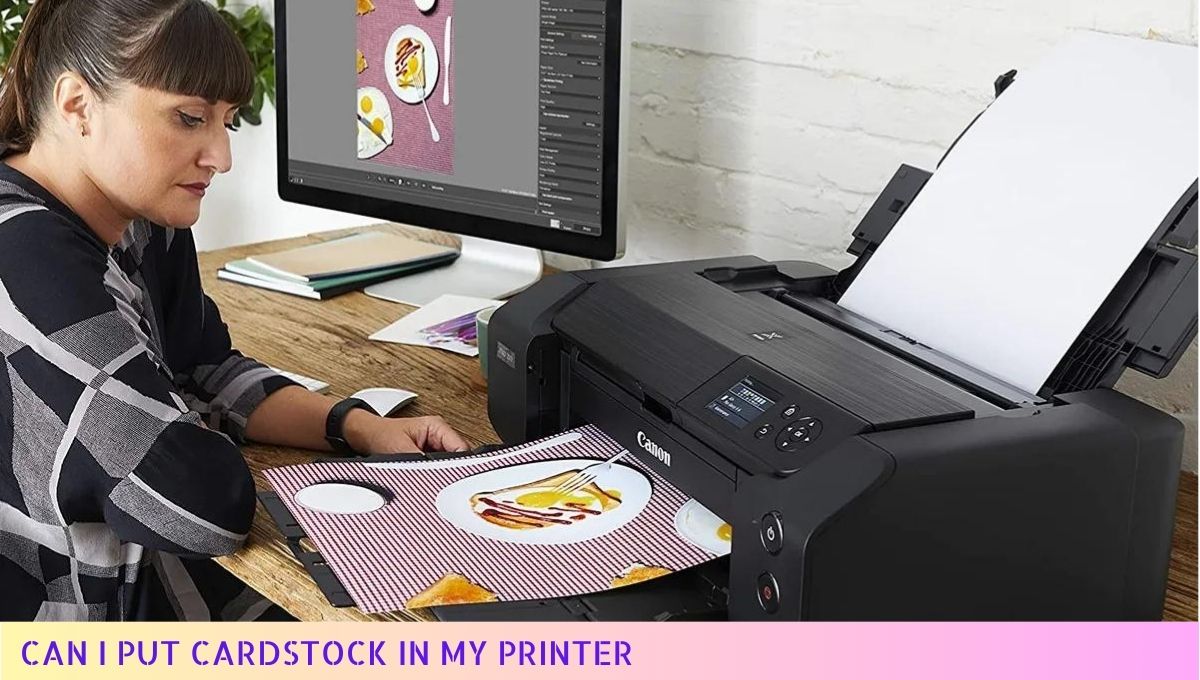
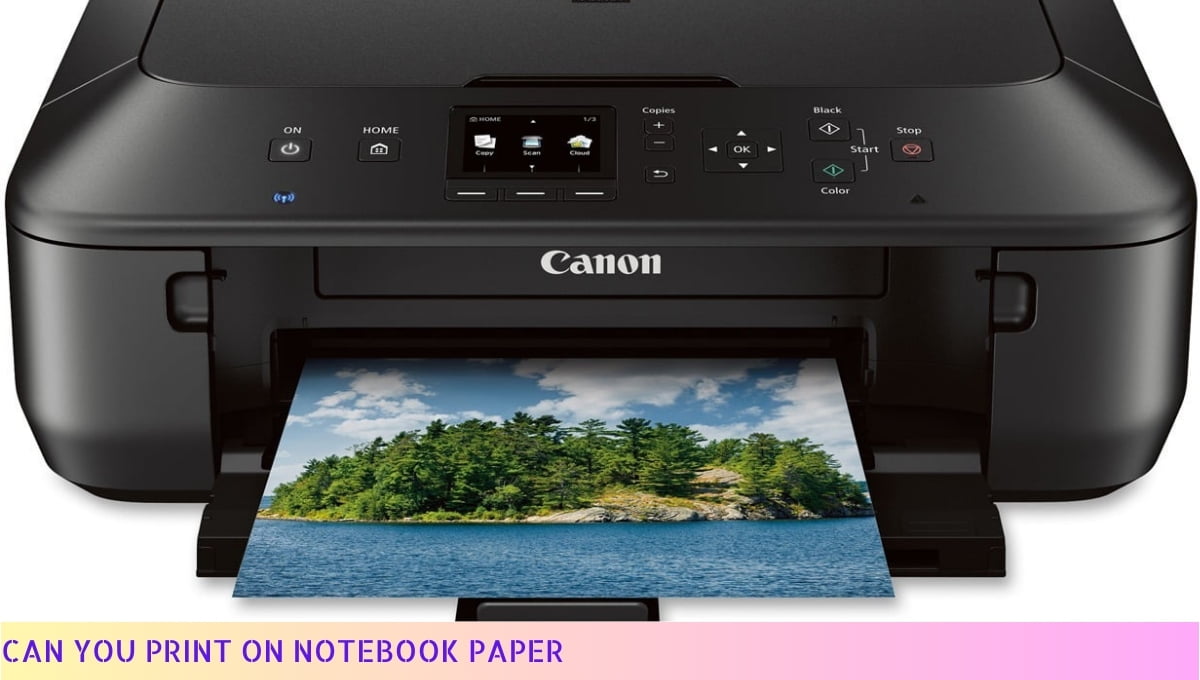
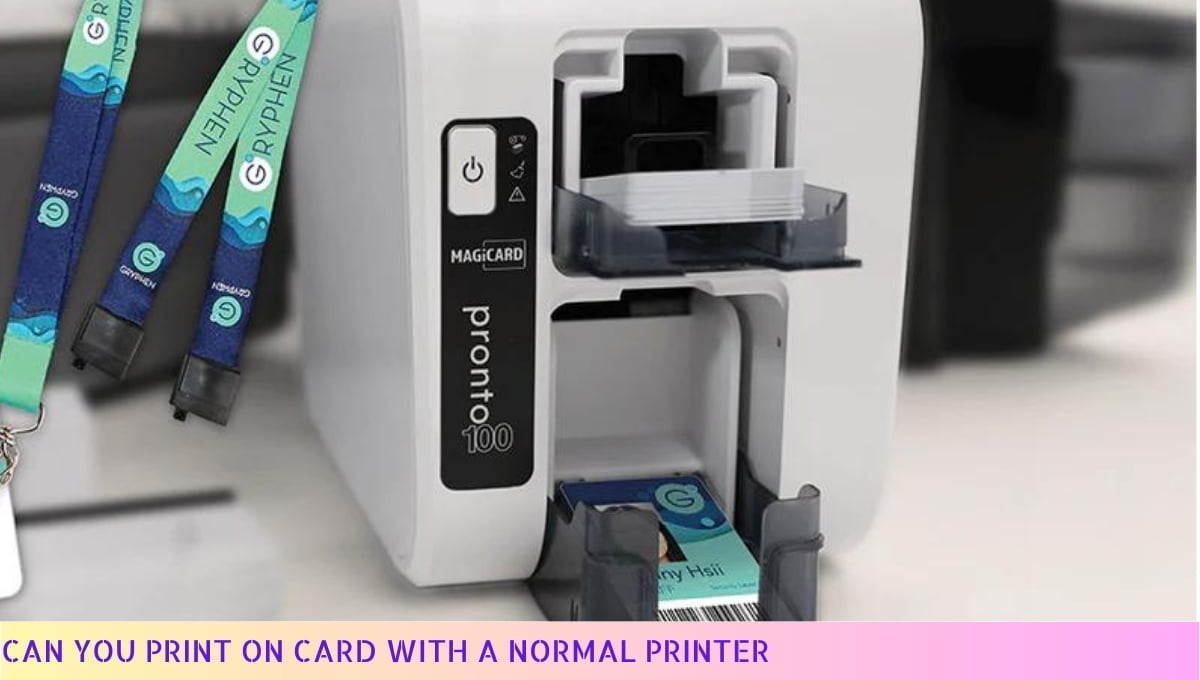
Yes, you can put cardstock in your printer, but ensure it is compatible with your specific printer model.
Most inkjet and laser printers can handle cardstock, but it’s essential to check the manufacturer’s guidelines. Using the correct weight and thickness of cardstock will prevent jams and ensure optimal print quality.
Additionally, adjust your printer settings for the best results when printing on thicker paper to achieve vibrant colors and clear images.
Benefits of Using Cardstock in Your Printer
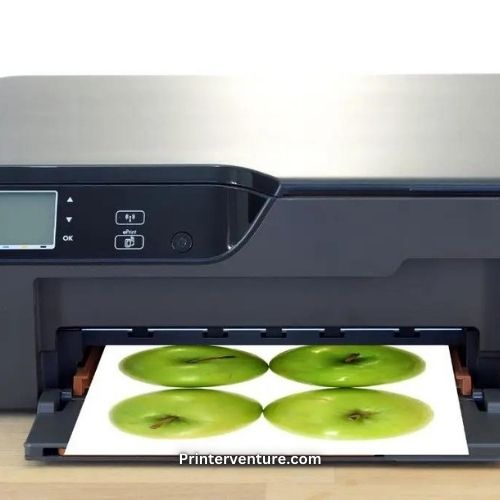
When it comes to printing, cardstock can be a game changer. I’ve discovered numerous advantages that come with using this versatile material, and I’m excited to share them with you.
1. Durability and Sturdiness
One of the primary benefits of using cardstock is its durability. Unlike standard printer paper, cardstock is thicker and more resilient, making it ideal for projects that require a sturdy finish.
Whether you’re creating invitations, business cards, or artwork, cardstock can withstand wear and tear better than regular paper.
This means your prints will look great for longer periods, adding value to your projects.
2. Professional Appearance
Cardstock offers a professional look that can elevate your printed materials. The thicker texture and weight provide a premium feel that’s often associated with high-quality prints.
When I print on cardstock, I notice a significant difference in the overall appearance of my projects.
This professional finish can make a lasting impression, whether you’re handing out business cards or designing promotional materials.
3. Versatility in Projects
Cardstock is incredibly versatile and can be used for a variety of projects. Here are some examples:
- Invitations: Create beautiful wedding or event invitations that stand out.
- Greeting Cards: Design personalized cards for any occasion.
- Scrapbooking: Use cardstock for backgrounds or embellishments in your scrapbook.
- Art Projects: Print artwork or designs on cardstock for a more polished look.
- Labels and Tags: Create custom labels or gift tags that are durable and attractive.
4. Wide Range of Finishes
Cardstock comes in various finishes, including matte, glossy, and textured options. This variety allows you to choose the perfect finish for your project.
For instance, if you’re printing photographs, a glossy finish can enhance the colors and details.
On the other hand, a matte finish may be more suitable for text-heavy documents where readability is key. Having this range of options means you can tailor your prints to match your vision.
5. Compatibility with Different Printers
Most modern printers can handle cardstock, making it accessible for home and office use. However, it’s essential to check your printer’s specifications to ensure compatibility.
Many inkjet and laser printers are designed to accommodate thicker paper, allowing you to enjoy the benefits of cardstock without investing in a specialized printer.
6. Cost-Effectiveness
While cardstock may be slightly more expensive than standard printer paper, its cost-effectiveness becomes apparent when considering its durability and versatility.
Since cardstock holds up better over time, you may find that you need fewer reprints or replacements.
This can save you money in the long run, especially for businesses or projects that require multiple copies.
7. Creative Opportunities
Using cardstock opens up a world of creative opportunities. You can easily cut, fold, or embellish cardstock to create unique designs.
This adaptability allows you to experiment with different shapes and styles, whether you’re crafting handmade cards or designing promotional materials.
The thickness of cardstock also means it can hold up to various techniques like embossing or foil stamping, adding an extra layer of creativity to your projects.
8. Environmental Considerations
Many cardstock options are available in recycled materials, making them an eco-friendly choice for those who are environmentally conscious.
When I choose recycled cardstock, I feel good knowing that I’m contributing to sustainability efforts while still achieving high-quality prints.
Additionally, cardstock is often recyclable, allowing you to dispose of your projects responsibly once they’ve served their purpose.
9. Enhanced Print Quality
Cardstock can significantly enhance print quality. The thicker surface allows for better ink absorption, resulting in vibrant colors and sharper images. I’ve noticed that my prints come out looking more professional and polished when I use cardstock compared to standard paper.
This is especially important for projects where visual impact is crucial.
10. Ease of Use
Finally, working with cardstock is relatively straightforward. While you may need to adjust your printer settings for optimal results, the actual process of printing on cardstock is similar to printing on regular paper.
I recommend experimenting with different settings to find what works best for your specific printer and cardstock type, ensuring you achieve the best possible results.
Tips for Printing on Cardstock
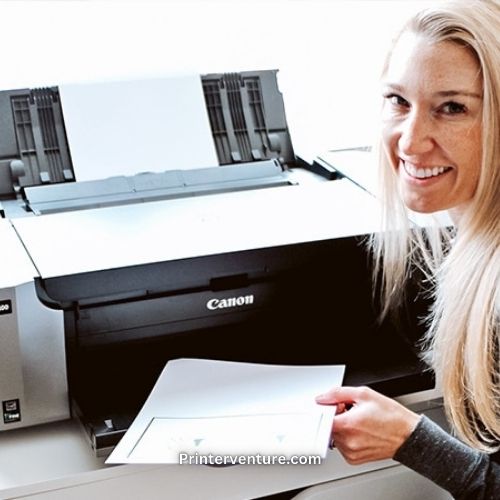
When it comes to printing on cardstock, I know that a few key tips can make all the difference. Understanding how to handle this thicker paper will help you achieve the best results possible.
1. Choose the Right Printer Settings
One of the first steps in printing on cardstock is adjusting your printer settings. Many printers have specific settings for different paper types, and cardstock is no exception. Here’s how to ensure you’re set up for success:
- Paper Type: Select the appropriate paper type in your printer settings. Look for options like “Cardstock,” “Heavy Paper,” or “Thick Paper.” This ensures your printer uses the right amount of ink and adjusts the feeding mechanism accordingly.
- Print Quality: Opt for a higher print quality setting. While this may take longer, the results will be worth it, as your prints will be sharper and more vibrant.
- Paper Size: Ensure that the paper size matches the cardstock you are using. If you’re using a non-standard size, adjust your settings to reflect that size.
2. Use the Right Paper Feed
Feeding cardstock into your printer correctly is crucial for preventing jams and ensuring a smooth print job. Here are some tips:
- Manual Feed Tray: If your printer has a manual feed tray, use it. This tray is designed to handle thicker paper and will help avoid any feeding issues.
- Load One Sheet at a Time: If your printer struggles with thicker materials, try loading one sheet of cardstock at a time to minimize the risk of jams.
- Align Properly: Make sure the cardstock is aligned correctly in the feed tray. Misalignment can lead to crooked prints or paper jams.
3. Test Before You Print
Before committing to a large print job, I always recommend doing a test print. This will help you catch any potential issues before they become a bigger problem. Here’s how to effectively test:
- Use Regular Paper: Print your design on regular paper first to ensure everything looks as it should. This allows you to check colors, alignment, and overall design.
- Check Color Calibration: Ensure your printer is calibrated correctly. Sometimes, colors can appear differently on cardstock compared to regular paper.
- Adjust if Necessary: If the test print doesn’t meet your expectations, adjust your settings or design as needed before using your cardstock.
4. Allow for Drying Time
After printing on cardstock, it’s important to allow adequate drying time. This helps prevent smudging and ensures the ink adheres properly. Here are some tips for drying:
- Flat Surface: Place your printed cardstock on a flat surface to dry. Avoid stacking them until the ink is completely dry.
- Air Circulation: If possible, allow for good air circulation around the printed cardstock to speed up the drying process.
5. Consider the Type of Cardstock
The type of cardstock you choose can significantly affect your printing results. Here are some aspects to consider:
- Weight: Cardstock comes in various weights, typically measured in pounds (lbs) or grams per square meter (gsm). Heavier cardstock (e.g., 110 lbs or 300 gsm) may require different printer settings.
- Finish: Consider whether you want a matte or glossy finish. This will influence not only the look of your prints but also how the ink interacts with the surface.
- Texture: Some cardstock has a textured surface, which can add an interesting dimension to your prints but may require adjustments in print settings.
6. Clean Your Printer Regularly
To maintain optimal printing quality, regular cleaning of your printer is essential. Dust and debris can affect print quality, especially on thicker materials like cardstock. Here are some cleaning tips:
- Print Heads: Regularly check and clean your printer heads to prevent clogs that can affect print quality.
- Rollers: Clean the rollers that feed the paper to ensure they grip the cardstock properly and reduce the risk of jams.
By following these tips, you’ll be well on your way to achieving beautiful prints on cardstock. Remember, a little preparation goes a long way in ensuring your projects turn out exactly as you envision them.
Potential Issues to Consider
When I first started printing on cardstock, I was thrilled about the possibilities. However, I quickly learned that there are some potential issues to consider that could affect the quality of my prints and the performance of my printer.
Understanding these challenges can help you navigate the cardstock printing process more effectively.
Printer Compatibility
One of the first things I had to consider was whether my printer could handle cardstock. Not all printers are created equal, and some may struggle with thicker materials. Here are some factors to keep in mind:
- Check Specifications: Always refer to your printer’s manual or manufacturer’s website to see if cardstock is supported. Many inkjet and laser printers can handle cardstock, but it’s crucial to verify.
- Weight Limit: Cardstock comes in various weights, typically ranging from 50 lb to 110 lb. Make sure your printer can accommodate the weight of the cardstock you plan to use.
- Paper Path: Thicker materials may require a straight paper path to avoid jams. If your printer has a rear feed or manual feed option, use it for cardstock.
Print Quality Concerns
Another issue I faced was ensuring that my prints came out crisp and vibrant. Here are some factors that can impact print quality:
- Ink Saturation: Cardstock absorbs ink differently than regular paper. I found that using a higher quality cardstock can help achieve better saturation and color vibrancy.
- Print Settings: Adjusting the print settings to match the cardstock type is essential. I learned to select the “thick paper” or “cardstock” option in my printer settings to improve output quality.
- Drying Time: Ink takes longer to dry on cardstock, which can lead to smudging if handled too soon. Allow your prints to dry completely before touching or stacking them.
Paper Jams
Experiencing paper jams is a common frustration when printing on cardstock. Here are some tips to reduce the likelihood of this happening:
- Use Quality Cardstock: Low-quality cardstock is more prone to curling and warping, which can lead to jams. I recommend investing in a reputable brand that is specifically designed for printing.
- Feed One Sheet at a Time: If your printer struggles with multiple sheets, feed them one at a time to minimize the chance of jams.
- Maintain Your Printer: Regular maintenance, such as cleaning the rollers and ensuring there’s no debris in the paper path, can help prevent jams.
Cost Considerations
While cardstock can enhance the quality of your projects, it can also be more expensive than regular paper. Here’s how I manage costs:
- Buy in Bulk: Purchasing cardstock in bulk can save you money in the long run. Look for deals at craft stores or online retailers.
- Choose Wisely: Not every project requires high-end cardstock. For practice prints, I often use a lower-quality cardstock to save on costs.
- Plan Your Prints: Before printing, I take the time to plan my designs carefully. This reduces waste and ensures that I only use cardstock for projects that truly benefit from it.
Environmental Considerations
As someone who is conscious of the environment, I also think about the sustainability of my printing choices. Here are a few points to consider:
- Recycled Cardstock: Consider using recycled cardstock options, which can reduce your environmental footprint while still achieving great results.
- Waste Management: Make sure to recycle any leftover scraps from your projects. Many municipalities have recycling programs that accept paper products.
By being aware of these potential issues, I can navigate the cardstock printing process more effectively.
Taking the time to understand my printer’s capabilities, adjusting my print settings, and being mindful of costs and environmental impact allows me to achieve high-quality prints without unnecessary stress.
This knowledge not only enhances my printing experience but also helps me create beautiful projects that I can be proud of.
Best Practices for Printing on Cardstock
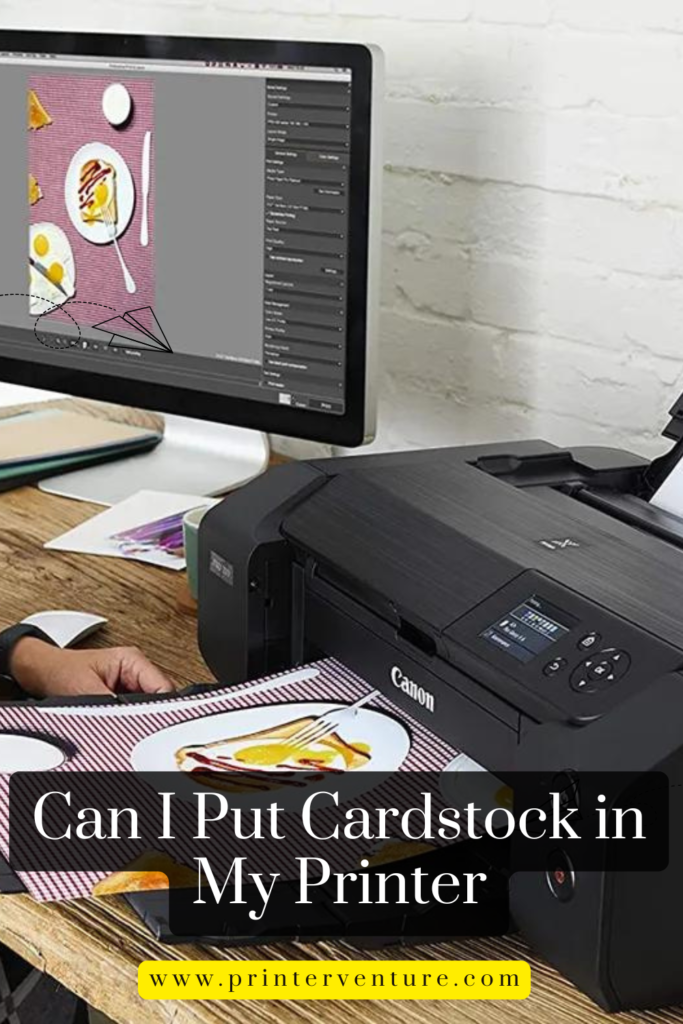
When it comes to printing on cardstock, I understand the importance of getting the best results.
Here are some best practices that I’ve found to be effective, ensuring you achieve high-quality prints every time.
1. Choose the Right Cardstock
The first step to successful printing is selecting the appropriate cardstock. Not all cardstock is created equal, and the weight and finish can significantly impact your print quality. Here’s what I consider:
- Weight: Opt for cardstock that is between 80 lb and 110 lb for most standard printing needs. Heavier cardstock may require a more robust printer.
- Finish: Depending on your project, choose between matte, glossy, or textured finishes. A matte finish is great for writing, while glossy can enhance color vibrancy.
- Compatibility: Always check if your printer can handle the thickness of the cardstock you choose. Most inkjet printers can handle up to 110 lb, but some may struggle with heavier stocks.
2. Adjust Printer Settings
Before hitting print, I always adjust my printer settings to match the cardstock type. Here’s what I do:
- Paper Type: Set your printer to the correct paper type setting. This ensures that the printer applies the right amount of ink and heat.
- Print Quality: For best results, select a higher print quality option. While this may take longer, the results are worth it.
- Color Management: Use color management settings to ensure your prints look as intended. This may include adjusting color profiles or using specific software.
3. Test Prints
Before printing a large batch, I always recommend doing a test print. Here’s how I approach this:
- Sample Size: Print a small sample to check for alignment, colors, and overall quality. This step can save you time and resources.
- Check for Issues: Look for any smudging, color discrepancies, or alignment issues. This allows you to make necessary adjustments before proceeding with the full print run.
4. Allow for Drying Time
Once printed, I always allow the cardstock to dry properly. This is crucial, especially for inkjet printers:
- Drying Time: Give your prints enough time to dry completely. This prevents smudging and ensures that colors set properly.
- Stacking: Avoid stacking prints immediately after printing. Instead, lay them flat to dry, or use a drying rack if available.
5. Storage and Handling
How you handle and store your printed cardstock can also affect the longevity and quality of your prints. Here’s what I recommend:
- Store Flat: Always store your cardstock prints flat to avoid bending or creasing. If necessary, use protective sheets or folders.
- Avoid Moisture: Keep your prints in a dry environment. Moisture can warp cardstock and damage the print.
6. Use the Right Tools
Using the right tools can make a significant difference in the quality of your prints. Here’s what I find helpful:
- Trimmers and Cutters: For precise edges, use a paper trimmer or cutter instead of scissors. This ensures clean lines.
- Bone Folder: For scoring and folding cardstock, a bone folder can help create crisp folds without cracking the paper.
7. Experiment and Learn
Lastly, I believe in the power of experimentation. Each printer and cardstock combination can yield different results, so don’t hesitate to try new techniques:
- Different Techniques: Experiment with different printing techniques, such as layering colors or using different finishes.
- Document Results: Keep a record of what works and what doesn’t for future reference. This can help streamline your printing process.
By following these best practices, I’m confident you’ll achieve stunning results when printing on cardstock. Each step plays a crucial role in ensuring your prints are of the highest quality, so take your time and enjoy the process!
FAQs: Can I Put Cardstock in My Printer?
Printing on cardstock is a common question for many users. This guide will help you understand whether your printer can handle cardstock and what considerations to keep in mind.
1. Can I use cardstock in any printer?
Not all printers are designed to handle cardstock. Check your printer’s specifications to ensure it can accommodate thicker paper types like cardstock.
2. What type of cardstock can I use?
Most inkjet and laser printers can handle cardstock ranging from 65 lb to 110 lb. Always verify the weight limits specified by your printer manufacturer.
3. Do I need to adjust printer settings for cardstock?
Yes, adjusting your printer settings to a thicker paper type or cardstock option is often necessary. This helps ensure proper ink distribution and prevents jams.
4. Can I print double-sided on cardstock?
Many printers can print double-sided on cardstock, but it’s advisable to test a few sheets first. Some printers may struggle with the thickness.
5. Will printing on cardstock damage my printer?
If your printer is not designed for thick media, using cardstock may cause jams or damage. Always refer to the user manual for guidance.
6. How do I prevent jams when printing on cardstock?
To minimize jams, use the manual feed slot if available, and ensure that the cardstock is aligned properly in the tray.
7. Can I use any ink on cardstock?
Most inks can be used on cardstock, but pigment-based inks are often recommended for better durability and color quality.
8. Is there a specific brand of cardstock I should use?
While many brands are suitable, it’s best to choose cardstock that is specifically designed for printing. Look for recommendations from your printer’s manufacturer.
9. What if my printer doesn’t support cardstock?
If your printer doesn’t support cardstock, consider using a professional printing service or investing in a printer that is designed for thicker media.
10. Can I use cardstock for photo printing?
Yes, cardstock can be used for photo printing. Just ensure it is compatible with your printer and that you adjust the settings for optimal results.
Wrap Up
Using cardstock in my printer can open up a world of creative possibilities. I’ve found that as long as I follow the manufacturer’s guidelines and adjust the printer settings accordingly, I can achieve stunning results.
Whether it’s for invitations, business cards, or art projects, cardstock can add a professional touch to my printed materials.
I encourage you to give it a try and see how cardstock can enhance your printing experience. Just remember to test a few sheets first to ensure compatibility with your specific printer model.
Thank you for taking the time to read my insights! If you found this information helpful, feel free to share it with friends and revisit our site for more tips and tricks. Happy printing! 🎉✨

