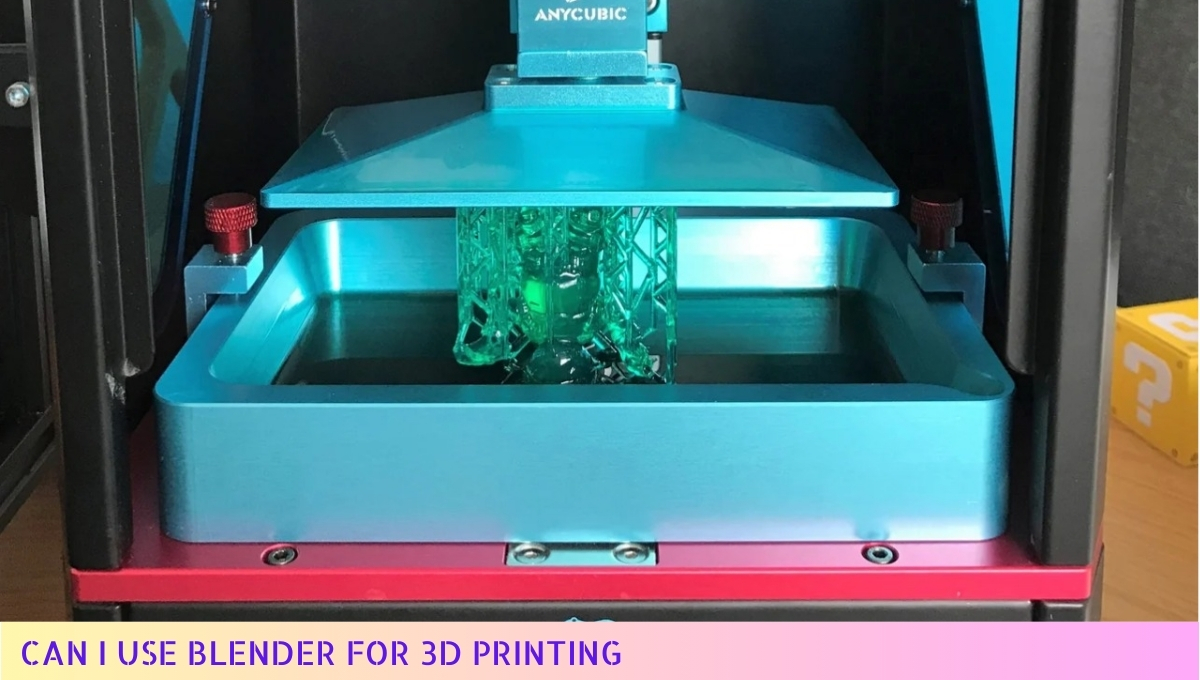
Yes, you can use Blender for 3D printing.
Blender is a powerful 3D modeling software that allows you to create detailed models suitable for 3D printing.
It offers various tools for designing, modifying, and optimizing your models, ensuring they meet the necessary specifications for printing.
Additionally, Blender supports exporting files in formats like STL, which is widely used in 3D printing. With proper knowledge of the software, you can produce high-quality prints tailored to your needs.
I. Understanding Blender and 3D Printing
As someone passionate about 3D printing, I find Blender to be an incredibly powerful tool. Understanding its capabilities can significantly enhance your printing projects and help you create stunning models.
What is Blender?
Blender is a free and open-source 3D creation suite that supports the entirety of the 3D pipeline, including modeling, rigging, animation, simulation, rendering, compositing, and motion tracking.
It also offers features for video editing and game creation. Its versatility makes it an excellent choice for artists, designers, and hobbyists alike.
Why Use Blender for 3D Printing?
Blender is particularly appealing for 3D printing enthusiasts for several reasons:
- Cost-Effective: Being free, Blender allows you to experiment and learn without financial constraints.
- Powerful Modeling Tools: The software provides a wide array of tools for creating intricate designs, making it suitable for both beginners and experienced users.
- Customizability: Blender’s open-source nature means you can customize it to fit your specific needs, whether through plugins or scripts.
- Active Community: With a large and active community, you can find numerous tutorials, forums, and resources to help you overcome challenges and improve your skills.
Key Concepts in 3D Printing
Before you start designing in Blender, it’s essential to grasp some fundamental concepts related to 3D printing:
- 3D Models: These are the digital representations of objects that you will print. They can be created from scratch or modified from existing models.
- File Formats: The most common file format for 3D printing is STL (Stereolithography), but Blender can also export files in OBJ and FBX formats.
- Mesh Integrity: A good 3D model should be a closed mesh without holes or non-manifold edges, as these can cause issues during printing.
- Scale and Size: Understanding the scale of your model is crucial. You must ensure that your model fits within the dimensions of your 3D printer’s build volume.
Basic Workflow for 3D Printing with Blender
When using Blender for 3D printing, following a structured workflow can make the process smoother:
- Modeling: Start by creating your 3D model. Use Blender’s modeling tools to shape your object as desired.
- Check for Errors: Once your model is complete, check for any mesh errors that could cause printing problems. Use the “3D Print Toolbox” add-on to help with this.
- Exporting: After ensuring your model is error-free, export it in the appropriate file format for your printer.
- Slicing: Use slicing software to convert your model into G-code, the language your 3D printer understands.
- Printing: Finally, send the G-code to your printer and monitor the printing process.
Benefits of Using Blender for 3D Printing
Utilizing Blender for 3D printing comes with several advantages:
- High Customization: You can create bespoke designs tailored to your specific needs, which is especially useful for prototyping and unique projects.
- Iterative Design: Blender’s non-destructive editing capabilities allow you to make changes and refine your model without losing previous iterations.
- Visualization: Blender’s powerful rendering tools enable you to visualize your model before printing, helping you catch potential issues early.
- Integration with Other Software: Blender can easily integrate with other software and tools used in the 3D printing workflow, enhancing your overall efficiency.
Getting Started with Blender
If you’re new to Blender, consider these steps to get started:
- Download and Install: Visit the official Blender website to download the latest version.
- Familiarize Yourself: Spend some time exploring the interface and tools. Blender has a steep learning curve, but many tutorials are available online.
- Practice: Start with simple projects to build your confidence and understanding of the software.
- Engage with the Community: Join forums, social media groups, or local meetups to connect with other Blender users and 3D printing enthusiasts.
By understanding Blender and its role in 3D printing, you can unlock a world of creative possibilities and bring your ideas to life.
Whether you are creating prototypes, art, or functional objects, mastering Blender will enhance your 3D printing experience.
II. Features of Blender for 3D Printing
As I explored Blender for my 3D printing projects, I discovered a wealth of features that significantly enhance the modeling process. Let me share these features with you, so you can maximize your 3D printing endeavors.
1. Comprehensive Modeling Tools
Blender offers a variety of modeling tools that cater to both beginners and experienced users. These tools allow you to create intricate designs with precision. Some of the key modeling features include:
- Mesh Editing: You can easily manipulate vertices, edges, and faces to create complex shapes.
- Sculpting: The sculpting feature lets you add fine details to your models, making it perfect for organic shapes.
- Modifiers: Blender includes modifiers like Mirror, Subdivision Surface, and Boolean, which simplify the modeling process and allow for non-destructive editing.
2. Advanced Texturing and Materials
Blender’s texturing capabilities enable you to create realistic appearances for your models. Although textures may not be printed directly, understanding how to apply them can help in visualizing the final product. Key features include:
- UV Mapping: This process allows you to unwrap your model and apply 2D images as textures accurately.
- Material Nodes: The node-based material editor provides extensive control over how your model looks, including color, transparency, and reflection.
- Texture Painting: You can paint directly onto your 3D model, allowing for detailed customization.
3. Built-in 3D Printing Tools
Blender has integrated features specifically designed for 3D printing, making it easier for you to prepare your models. These tools help ensure that your designs are suitable for printing:
- 3D Print Toolbox: This add-on provides various utilities to check for common issues, such as non-manifold edges and intersecting faces.
- Volume Calculation: You can calculate the volume of your model, which is useful for estimating material costs.
- Alignment Tools: These tools help position your model correctly within the print area, ensuring optimal results.
4. Compatibility with Various File Formats
Blender supports numerous file formats, allowing you to export your models in a way that suits your specific 3D printer. Some of the most common formats include:
- STL: The standard format for 3D printing, widely accepted by most printers.
- OBJ: This format supports textures and is useful for more complex models.
- FBX: Primarily used for animations, but can also be exported for printing.
5. Animation and Rigging Features
While not directly related to 3D printing, Blender’s animation and rigging capabilities can enhance your understanding of how your model will move or interact in a digital space. This understanding can influence your design choices:
- Armatures: You can create skeletons for your models, allowing for realistic movement simulations.
- Keyframing: This feature allows you to set specific poses for your models over time, giving you insight into how they will look in action.
6. Community and Resources
One of the greatest strengths of Blender is its vibrant community. You can find countless tutorials, forums, and resources to help you learn and troubleshoot:
- Online Tutorials: Websites like YouTube and Blender Guru offer step-by-step guides for all skill levels.
- Community Forums: Platforms like Blender Artists provide a space for users to ask questions and share tips.
- Documentation: Blender’s official documentation is comprehensive and provides detailed explanations of every feature.
7. Customization and Scripting
For those who want to take their Blender experience further, the software supports Python scripting. This feature allows you to:
- Create Custom Tools: You can develop scripts to automate repetitive tasks, saving you time.
- Enhance Functionality: By writing your own add-ons, you can customize Blender to fit your specific workflow.
With these features at your disposal, Blender becomes a powerful ally in your 3D printing journey.
Whether you are creating simple designs or complex models, understanding these capabilities will undoubtedly enhance your productivity and creativity. Happy printing!
III. Tips for Using Blender for 3D Printing
As you embark on your journey with Blender and 3D printing, there are essential tips that can significantly enhance your experience. I’ve gathered some insights to help you navigate this exciting process with confidence.
1. Start with the Right Units
Before you begin modeling, ensure you set the correct unit scale in Blender. This is crucial for achieving accurate dimensions in your 3D prints.
You can adjust the unit settings by going to the Scene Properties tab and selecting Units. Choose between metric or imperial units based on your preference.
2. Keep It Simple
When designing your model, simplicity can be your best friend. Complex geometries can lead to difficulties in printing. Here are some tips for maintaining simplicity:
- Avoid excessive detail: Focus on the overall shape rather than intricate details that may not print well.
- Use fewer polygons: Keep your mesh clean and low-poly where possible to avoid complications during slicing.
3. Ensure Watertight Models
One of the most critical aspects of 3D printing is ensuring that your model is watertight, meaning there are no holes or gaps in the mesh. Here’s how to check:
- Use the 3D Print Toolbox: This add-on can help identify non-manifold edges and other issues. You can enable it in Edit Preferences under Add-ons.
- Check normals: Ensure that all normals are facing outward. You can select your mesh, enter Edit Mode, and recalculate normals by pressing Shift + N.
4. Optimize for Printability
To ensure that your model prints successfully, consider the following optimization techniques:
- Overhangs: Design with overhangs in mind. If your model has parts that extend without support, consider adding supports or redesigning those sections.
- Wall thickness: Ensure that your model has a sufficient wall thickness for the material you plan to use. Typically, a minimum of 1-2 mm is advisable.
5. Exporting Your Model
Once you’re satisfied with your design, the next step is exporting your model for printing. Here’s how to do it correctly:
- Choose the right format: STL and OBJ are the most common formats for 3D printing. Select File > Export and choose your desired format.
- Check settings: Ensure you have the correct export settings. For STL, make sure to select Selection Only if you want to export only the selected objects.
6. Use the Right Slicing Software
After exporting your model, you’ll need to use slicing software to prepare it for printing. Here are some popular options:
- Cura: A user-friendly option that supports a wide range of printers.
- PrusaSlicer: Great for Prusa printers, but versatile enough for others.
- Simplify3D: A paid option that offers advanced features and control over the slicing process.
7. Test Prints
Before committing to a full-scale print, consider doing test prints. Here’s why they’re beneficial:
- Identify issues: Small test prints can help you spot problems without wasting a lot of material.
- Adjust settings: Use test prints to fine-tune your printer settings, such as temperature and speed, for optimal results.
8. Stay Updated and Learn
The world of 3D printing is continually evolving, and so is Blender. Make it a habit to stay informed:
- Follow tutorials: Many creators share their knowledge through YouTube and other platforms. Find tutorials that focus on 3D printing in Blender.
- Join communities: Engaging with online forums and social media groups can provide support and inspiration from fellow Blender users.
By incorporating these tips into your workflow, you’ll not only enhance your modeling skills in Blender but also improve your overall 3D printing experience. Happy printing!
IV. Common Challenges and Solutions in 3D Printing with Blender
As I navigate the world of 3D printing with Blender, I often encounter various challenges that can hinder my creative process.
However, with the right strategies, I can overcome these obstacles and enhance my 3D printing experience.
1. Model Complexity
One of the most significant challenges I face when preparing models for 3D printing is their complexity. Intricate designs can lead to issues during the printing process.
- Solution: I simplify my models by reducing the polygon count. Using the Decimate Modifier in Blender helps me maintain the model’s overall shape while minimizing unnecessary details.
- Tip: Consider using the Remesh Modifier to create a cleaner topology, making the model easier to print.
2. Non-Manifold Geometry
Non-manifold geometry is another common hurdle I encounter. This occurs when a model has edges that do not form a closed volume, which can confuse slicing software.
- Solution: I regularly check my models for non-manifold edges using the Select Non-Manifold option in Blender. This feature highlights problematic areas, allowing me to correct them before exporting.
- Tip: Utilize the 3D Print Toolbox add-on in Blender. It provides tools for identifying and fixing non-manifold edges, ensuring a smoother printing process.
3. Scale Issues
Another challenge I often face is ensuring my models are correctly scaled for printing. If the dimensions are off, the final print may not meet my expectations.
- Solution: I always set the correct unit scale in Blender before starting my project. This way, I can ensure that my model’s dimensions match the intended print size.
- Tip: Use the Measure Tool in Blender to double-check dimensions before exporting the model. This helps me avoid surprises during the printing phase.
4. Exporting Formats
Choosing the right file format for exporting my models is crucial. Not all formats are compatible with every 3D printer, which can lead to frustrating errors.
- Solution: I usually export my models in STL or OBJ formats, as these are widely accepted by most slicing software. Before exporting, I ensure that the model is selected and that I apply any transformations.
- Tip: Familiarize yourself with the specifications of your 3D printer. Some printers may have specific requirements for file formats or dimensions.
5. Print Orientation
The orientation of my model during printing can significantly affect its strength and surface finish. Improper orientation can lead to weak points or excessive support material.
- Solution: I always analyze the best orientation for my model before printing. I use Blender’s 3D Viewport to visualize how the model will sit on the print bed.
- Tip: Consider the use of supports and how they will affect the final print. Sometimes, rotating the model can minimize the need for support structures.
6. Material Compatibility
Different 3D printing materials have specific properties, and not all models are suitable for every material. This can lead to issues with print quality and durability.
- Solution: I research the material I plan to use and adjust my model accordingly. For example, if I am using flexible filament, I ensure that my design accommodates the material’s unique characteristics.
- Tip: Test print smaller sections of your model using different materials to understand how they behave before committing to a full-scale print.
7. Slicing Software Compatibility
Finally, I sometimes encounter issues with slicing software compatibility. Not all slicers interpret Blender models the same way, which can lead to printing errors.
- Solution: I ensure that I use reliable slicing software that works well with my 3D printer and supports the file formats I export from Blender.
- Tip: Experiment with different slicers to find the one that produces the best results for my specific printer and model types.
By addressing these common challenges with the right strategies, I can enhance my 3D printing projects in Blender and achieve the best results possible. With each print, I gain valuable experience that further improves my workflow and creativity.
FAQs: Can I Use Blender for 3D Printing?
1. Can Blender export files suitable for 3D printing?
Yes, Blender can export files in formats like STL and OBJ, which are commonly used for 3D printing. These formats are compatible with most 3D printers and slicing software.
2. Is Blender free to use for 3D printing projects?
Blender is completely free and open-source software. You can download and use it without any cost, making it an excellent option for those interested in 3D printing.
3. What are the key features of Blender for 3D printing?
Blender offers features like modeling, sculpting, texturing, and rendering, which are essential for creating detailed 3D models. It also includes tools for checking and repairing models to ensure they are printable.
4. How do I prepare a model in Blender for 3D printing?
To prepare a model for 3D printing in Blender, ensure that it is manifold (watertight), apply all transformations, and check for non-manifold edges. You can also use the 3D Print Toolbox add-on for assistance.
5. Can I use Blender to create complex shapes for 3D printing?
Yes, Blender is capable of creating complex shapes and intricate designs. Its advanced modeling tools allow for high levels of detail, which can be beneficial for 3D printing projects.
6. Are there any specific settings I need to adjust in Blender for 3D printing?
When preparing a model for 3D printing, it’s important to set the correct scale and units in Blender. Additionally, ensure that your model’s dimensions fit within the build volume of your 3D printer.
7. Can I print directly from Blender?
Blender does not support direct 3D printing. You will need to export your model to a compatible format and use slicing software to prepare it for printing on your 3D printer.
8. Is there a learning curve when using Blender for 3D printing?
Blender can have a steep learning curve due to its extensive features. However, there are many tutorials available online that can help you get started with 3D printing projects.
9. What types of 3D printers can I use with Blender?
Blender is compatible with various types of 3D printers, including FDM, SLA, and SLS printers. Just ensure that you export your model in a format that your specific printer supports.
10. Can I find support for Blender users focused on 3D printing?
Yes, there are numerous online communities and forums dedicated to Blender users interested in 3D printing. These platforms offer support, tips, and resources for enhancing your skills.
Wrap Up
Using Blender for 3D printing is not just possible; it’s an empowering choice for creators like me.
The software offers robust modeling tools and a user-friendly interface, making it ideal for both beginners and seasoned professionals. With a little practice, I can transform my concepts into tangible objects, ready to bring to life.
However, it’s essential to remember the importance of proper file preparation. Ensuring that my models are manifold and optimized for printing will save me time and frustration down the road.
With the right settings and techniques, my Blender creations can seamlessly transition from the screen to the physical world.
Thank you for taking the time to read! I invite you to share this knowledge with friends and revisit our site for more insights. Your support means a lot! 😊

