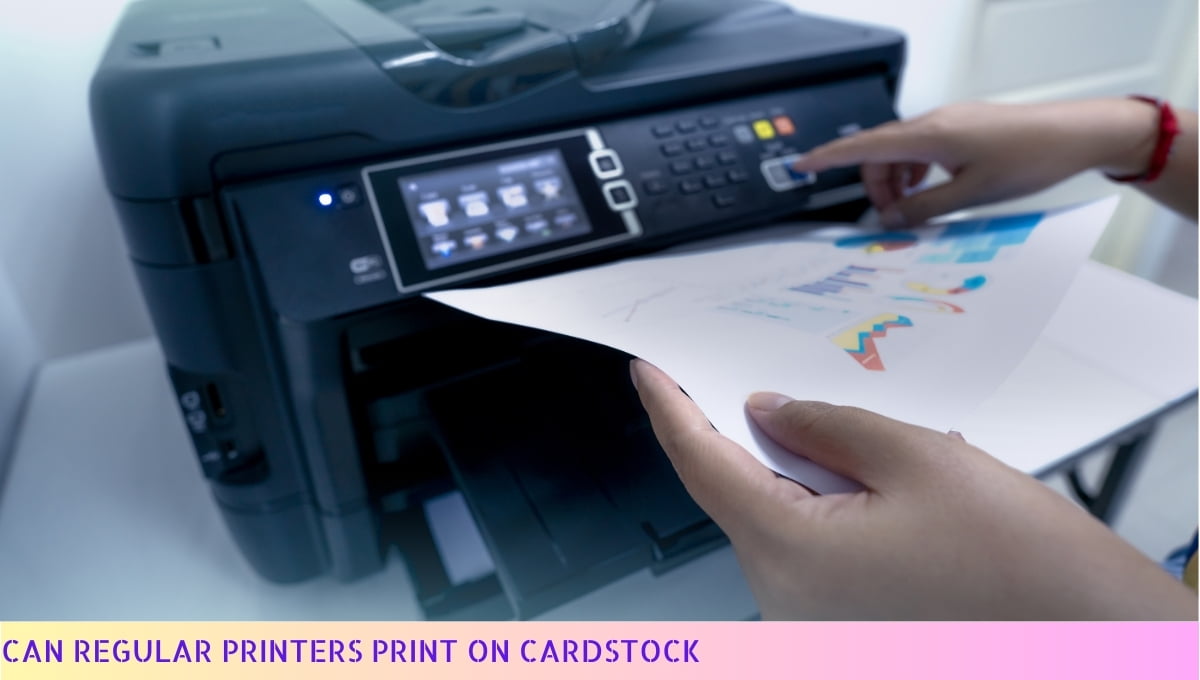
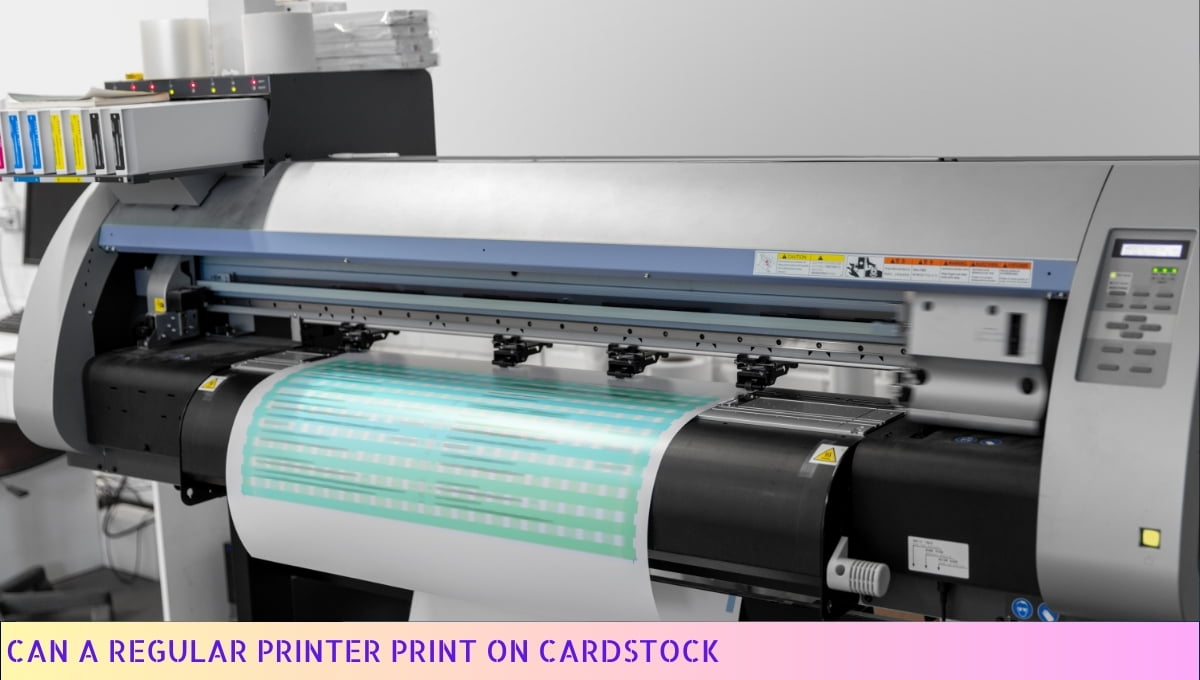
Yes, regular printers can print on cardstock.
Cardstock is a thicker and sturdier type of paper, often used for creating invitations, greeting cards, and other crafts.
While regular printers are designed to handle standard paper, many models have adjustable settings that allow them to accommodate thicker materials like cardstock.
It’s important to check the printer’s specifications and adjust the settings accordingly to ensure proper printing results.
Printing on Cardstock with Regular Printers: Benefits and Tips
Printing on cardstock with regular printers can be a game-changer when it comes to creating eye-catching prints and designs.
The sturdy and thick nature of cardstock adds a touch of professionalism and durability to your printed materials. But how can you achieve high-quality prints without the need for a specialized printer?
Let me share with you some benefits and tips for printing on cardstock with regular printers.
Benefits of Printing on Cardstock with Regular Printers
1. Versatility: Cardstock offers a wide range of applications. Whether you’re printing invitations, greeting cards, business cards, or flyers, cardstock provides a sturdy canvas that can withstand handling and showcase your designs beautifully.
2. Professional Appearance: By printing on cardstock, you instantly elevate the appearance of your printed materials. The thickness and texture of cardstock give a premium feel, making your prints stand out from the crowd and leaving a lasting impression on recipients.
3. Durability: Regular printer paper may be prone to tearing or bending, but cardstock is built to last. It can withstand the wear and tear of everyday use, ensuring that your prints remain intact and presentable for a longer period.
Tips for Printing on Cardstock with Regular Printers
1. Choose the Right Cardstock: Not all cardstock is created equal. Opt for a cardstock that is compatible with your printer’s specifications. Look for a weight that your printer can handle without causing jams or other printing issues. It’s also essential to select a cardstock finish that complements your design, such as matte or glossy.
2. Adjust Printer Settings: To ensure optimal printing results, adjust your printer settings accordingly. Set the paper type to “cardstock” or manually select a thicker paper setting if available. Additionally, consider adjusting the print quality settings to achieve the desired level of sharpness and color vibrancy.
3. Test Print: Before printing a large batch, it’s always a good idea to do a test print. This allows you to verify the print quality, colors, and alignment. Make any necessary adjustments to your design or printer settings based on the test print results.
4. Feed Cardstock Correctly: When loading cardstock into your printer, make sure to follow the manufacturer’s instructions. Pay attention to the recommended paper orientation and ensure that the cardstock is properly aligned and securely placed in the paper tray or manual feed slot.
5. Allow for Drying Time: Cardstock prints may take longer to dry compared to regular printer paper. Give your prints ample time to dry completely before handling or stacking them to avoid smudging or smearing the ink.
6. Consider Post-Printing Finishes: To further enhance the appearance and durability of your cardstock prints, consider adding post-printing finishes. Options such as laminating, embossing, or using a clear protective spray can provide an extra layer of protection and give your prints a polished look.
Printing on cardstock with regular printers opens up a world of possibilities for creating professional and long-lasting prints.
By following these tips and taking advantage of the benefits that cardstock offers, you can achieve high-quality results that will impress your audience. So, grab your cardstock, fire up your printer, and let your creativity shine!
Factors to Consider When Printing on Cardstock with Regular Printers
When it comes to printing on cardstock with regular printers, there are a few factors you should consider. These factors can make a big difference in the quality and success of your prints. So, let’s dive right in and take a closer look, shall we?
- Printer Compatibility: First things first, make sure your regular printer is compatible with cardstock. Not all printers are designed to handle thicker paper, so it’s essential to check your printer’s specifications. Look for printers that have a manual feed option or can handle heavier paper weights. This way, you can ensure smooth printing without damaging your printer.
- Cardstock Thickness: The thickness of the cardstock you choose plays a crucial role in print quality. Thicker cardstock tends to be more durable and professional-looking, but it may not be suitable for all printers. Check the maximum paper weight your printer can handle and select cardstock within that range. It’s best to test a sample sheet before printing a large batch to avoid any mishaps.
- Paper Size: Another factor to consider is the size of the cardstock. Most regular printers can handle standard paper sizes like letter (8.5″ x 11″) or A4 (210mm x 297mm). However, if you plan to print on larger or custom-sized cardstock, you may need a printer with a wider paper path or a manual feed option.
- Ink and Print Settings: To achieve high-quality prints on cardstock, you need to adjust your ink and print settings accordingly. Use the appropriate print quality settings and select the right paper type in your printer settings. This will ensure optimal ink coverage and prevent smudging or bleeding. Additionally, consider using pigment-based inks, as they are generally more resistant to fading and smearing.
- Design and Layout: The design and layout of your print project can impact the final result. Make sure your design is compatible with the thickness and texture of the cardstock. Avoid intricate designs or small text that may not show up clearly on thicker paper. It’s also a good idea to leave some margin space to prevent any cropping or cutting issues during printing.
By considering these factors, you can ensure a smooth printing process and achieve high-quality prints on cardstock with your regular printer.
So, take your time, make the necessary adjustments, and let your creativity shine on that sturdy cardstock canvas!
Tips for Printing on Cardstock with Regular Printers
Printing on cardstock with regular printers can be a bit tricky, but fear not! I’ve got some helpful tips to ensure you get the best results. So, let’s dive right in!
1. Choose the Right Cardstock
When selecting cardstock for printing, make sure to choose a weight that is compatible with your printer.
Most regular printers can handle cardstock up to a certain weight, so check your printer’s specifications to avoid any mishaps. Opt for a heavier cardstock if you want a sturdier and more professional-looking print.
2. Adjust Printer Settings
To achieve high-quality prints on cardstock, it’s important to adjust your printer settings accordingly. Set the paper type to “cardstock” or “heavyweight” in the print settings menu.
This ensures that the printer applies the right amount of ink and pressure for optimal results. Don’t forget to adjust the print quality settings as well to achieve the desired level of detail and sharpness.
3. Feed the Cardstock Properly
When loading cardstock into your printer, it’s crucial to feed it correctly to avoid paper jams or misalignments. Most printers have a manual feed tray specifically designed for thicker media like cardstock.
Use this tray to ensure a smooth printing process. Additionally, fan the cardstock sheets before loading them to prevent them from sticking together.
4. Test Print Before the Final Run
Before printing a large batch of cards or documents on cardstock, it’s wise to do a test print. This allows you to check the alignment, colors, and overall quality of the print.
Make any necessary adjustments to your settings or design before proceeding with the final print run. It’s always better to catch any issues early on to avoid wasting materials and time.
5. Handle the Prints with Care
Once your prints are done, handle them with care to avoid smudging or damaging the ink.
Cardstock prints may take longer to dry compared to regular paper, so give them some extra time to fully dry before handling or stacking them. If you need to stack them, place a sheet of plain paper between each print to prevent any ink transfer.
6. Consider Post-Processing
If you want to enhance the appearance of your cardstock prints, consider post-processing techniques such as laminating or embossing.
Laminating adds a protective layer and gives a glossy finish, while embossing adds texture and dimension. These techniques can take your cardstock prints to the next level and make them stand out.
7. Practice Patience and Experiment
Printing on cardstock with regular printers may require some trial and error. Don’t be discouraged if your first attempts don’t turn out perfectly.
Practice patience, experiment with different settings, and learn from each print. With time and practice, you’ll become more adept at achieving high-quality prints on cardstock.
Remember, printing on cardstock with regular printers is entirely possible with the right techniques and a bit of patience. So go ahead, give it a try, and impress everyone with your beautifully printed creations!
Best Practices for Achieving High-Quality Prints on Cardstock with Regular Printers
When it comes to printing on cardstock with regular printers, there are a few best practices that can help you achieve high-quality prints. Let me share some tips and tricks to ensure your prints come out looking sharp and professional.
1. Choose the right printer settings:
To get the best results, make sure you select the appropriate settings on your printer. Look for options like “Cardstock” or “Heavyweight” under the paper type setting. This will ensure that the printer adjusts its settings to accommodate the thicker cardstock paper.
2. Use the correct paper size:
Double-check that you have selected the correct paper size in your printer settings. Using the wrong size can lead to misalignment and poor print quality. Common cardstock sizes include 8.5×11 inches and 5×7 inches, but it’s always a good idea to verify the size before printing.
3. Load the cardstock properly:
When loading the cardstock into your printer, ensure that it is aligned correctly and placed securely in the paper tray. Improper alignment can cause paper jams or uneven printing. Also, avoid overloading the tray with too many sheets, as this can lead to feeding issues.
4. Adjust print density:
Cardstock paper tends to absorb more ink than regular paper, which can result in dull or faded prints. To combat this, adjust the print density or ink saturation in your printer settings. Increasing the density will help ensure that the colors appear vibrant and true to life.
5. Allow for ample drying time:
After printing, give your cardstock prints enough time to dry completely before handling or stacking them.
This will prevent smudging or smearing of the ink. Depending on the ink and paper quality, drying times may vary, so be patient and allow sufficient time for the prints to dry.
6. Consider a print test:
Before printing a large batch of cards or important documents, it’s always a good idea to do a test print on a single sheet of cardstock.
This will allow you to check the print quality, colors, and alignment. If any adjustments are needed, you can make them before proceeding with the full print run.
7. Use high-quality cardstock:
Investing in good-quality cardstock can make a significant difference in the final print output.
Opt for cardstock that is specifically designed for printing, as it will have a smoother surface and better ink absorption. This will result in sharper images and text.
8. Consider a printer upgrade:
If you frequently print on cardstock and require consistently high-quality prints, you might want to consider upgrading to a printer that is specifically designed for heavy-duty printing.
These printers often have additional features and settings that cater to cardstock printing, providing better results overall.
Achieving high-quality prints on cardstock with regular printers is entirely possible if you follow these best practices.
By selecting the right printer settings, using the correct paper size, loading the cardstock properly, adjusting print density, allowing for ample drying time, considering a print test, using high-quality cardstock, and potentially upgrading your printer, you can ensure that your prints come out looking professional and impressive.
So, go ahead and get started on your cardstock printing projects with confidence!
Can Regular Printers Print On Cardstock – FAQs
1. Can regular printers print on cardstock?
Yes, most regular printers can print on cardstock. However, it is important to check the specifications of your printer to ensure it is capable of handling thicker paper types like cardstock.
2. What is cardstock?
Cardstock is a type of thick and durable paper that is commonly used for various printing purposes such as invitations, greeting cards, and business cards.
3. What is the maximum thickness of cardstock that regular printers can handle?
The maximum thickness of cardstock that regular printers can handle varies depending on the specific printer model. Generally, most regular printers can handle cardstock up to 110 lb or 300 gsm.
4. Do I need to adjust any printer settings to print on cardstock?
Yes, in most cases, you will need to adjust the printer settings to ensure optimal print quality when printing on cardstock. It is recommended to select the appropriate paper type setting and adjust the print density or quality settings accordingly.
5. Can I use any type of cardstock with my regular printer?
While most regular printers can handle standard cardstock, it is important to use cardstock that is compatible with your printer. Some printers may have limitations on the type and weight of cardstock they can handle, so it is advisable to check the printer’s manual or specifications for recommended paper types.
6. What are some tips for printing on cardstock with a regular printer?
Here are a few tips for printing on cardstock with a regular printer:
– Make sure the cardstock is properly loaded into the printer tray.
– Adjust the printer settings to match the paper type and thickness.
– Print a test page on regular paper before printing on cardstock to ensure proper alignment and print quality.
– Avoid using heavily textured or extremely thick cardstock that may cause paper jams or printing issues.
7. Can I print double-sided on cardstock with a regular printer?
Yes, many regular printers have the capability to print double-sided. However, it is important to check if your printer supports duplex printing and follow the specific instructions provided by the printer manufacturer for double-sided printing on cardstock.
8. Are there any limitations to printing on cardstock with a regular printer?
While regular printers can handle cardstock, there may be some limitations. These limitations can include the maximum thickness of cardstock, the type of cardstock that can be used, and the print quality achieved on cardstock compared to regular paper.
9. Can I use cardstock with an inkjet printer?
Yes, cardstock can be used with inkjet printers. However, it is important to ensure that the inkjet printer is compatible with the thickness and weight of the cardstock you plan to use. Some inkjet printers may have limitations on the type of paper they can handle, so it is advisable to check the printer’s specifications.
10. Can I use cardstock with a laser printer?
Yes, cardstock can be used with laser printers. Laser printers are generally more suitable for printing on cardstock due to their ability to handle thicker paper types. However, it is important to check the specifications of your laser printer to ensure it can handle the specific weight and thickness of the cardstock you plan to use.
Wrapping Up
Let’s wrap this up with a bang! So, the burning question on everyone’s mind: can regular printers handle the mighty cardstock? Well, the verdict is in, and it’s a resounding yes!
Your trusty printer can totally handle that thick and sturdy cardstock you’ve been eyeing. Just make sure to adjust the settings, load it up carefully, and give it a little extra love.
So go ahead, unleash your creativity and print those dazzling invitations, jaw-dropping business cards, and breathtaking art prints. Your regular printer is ready to rock that cardstock like a pro!

